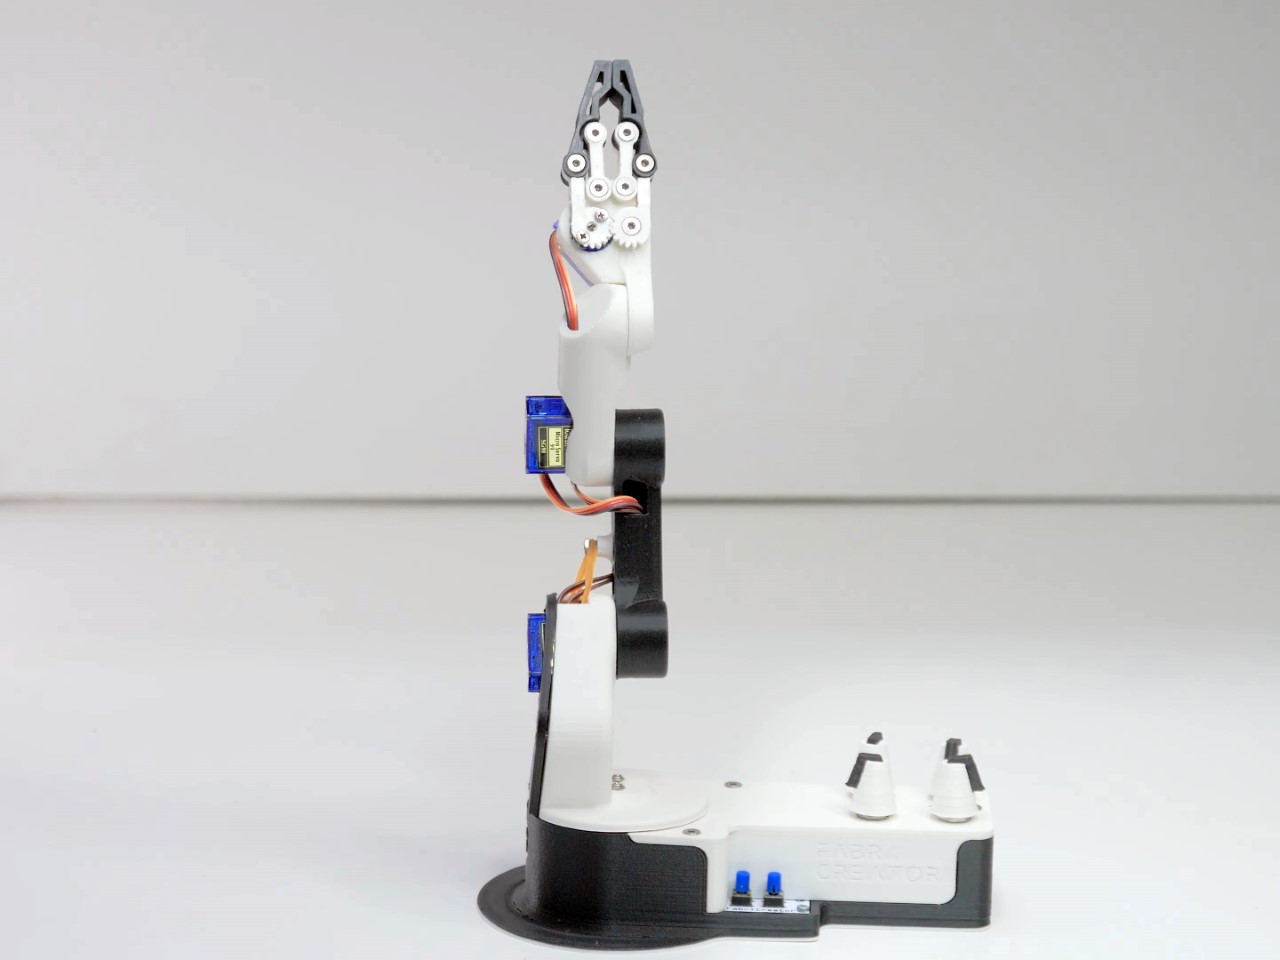
reating a mini robotic arm with Arduino and 3D printing is an exciting way to merge electronics and design. This project invites enthusiasts into the world of robotics, blending creativity with hands-on technical work. It’s ideal for those eager to dive into the realms of motion control and automation, using accessible components and open-source technology. The core of the project is the Arduino Nano, a compact microcontroller that coordinates the movements of four SG90 servo motors. These motors are controlled through potentiometers, offering precise adjustments to the arm’s motion. By adjusting the position of each potentiometer, you can direct the servo to move in a specific direction, making the control feel intuitive and satisfying.
Designer: FABRI Creator
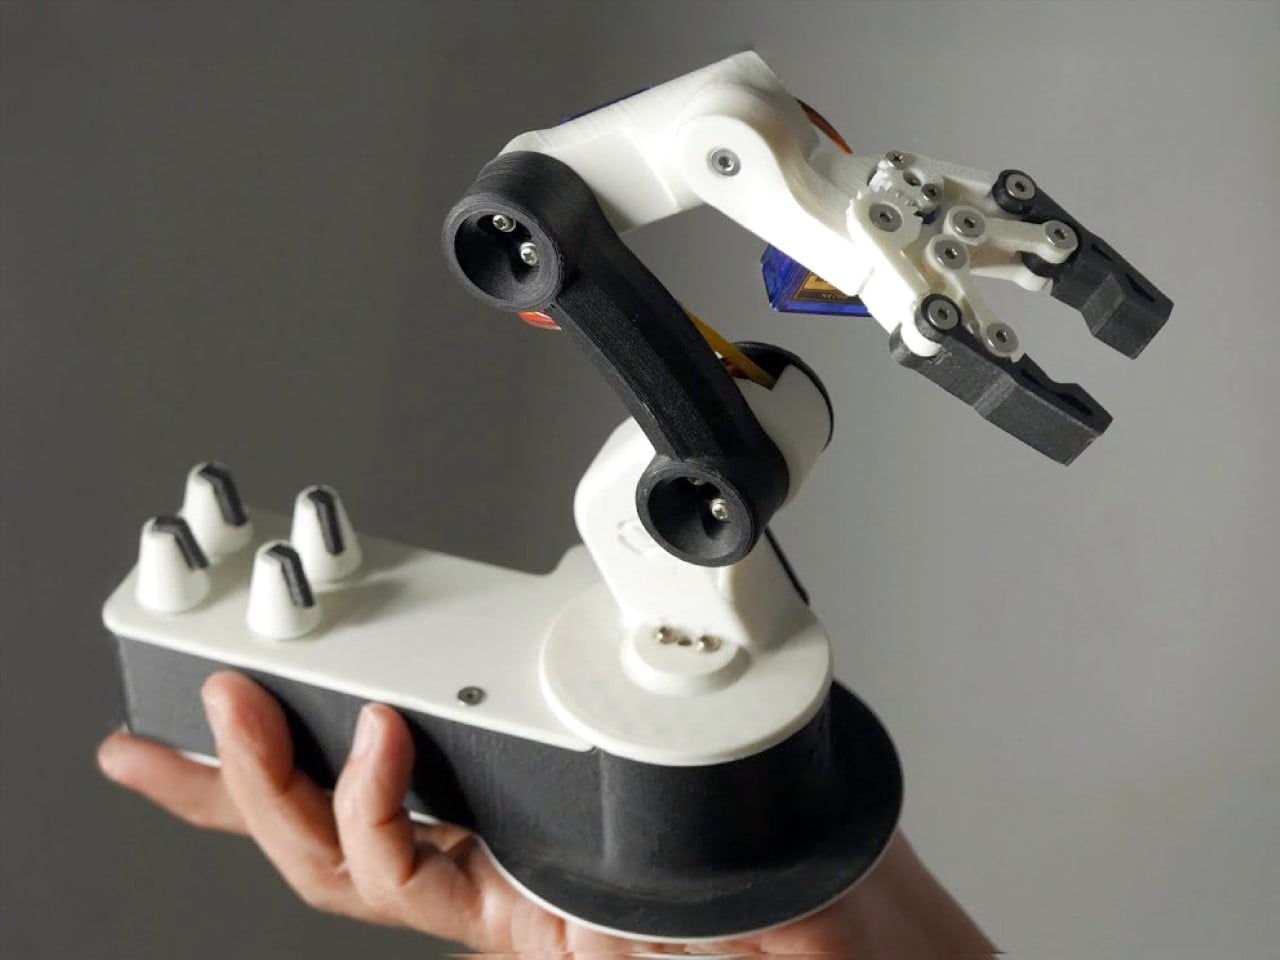
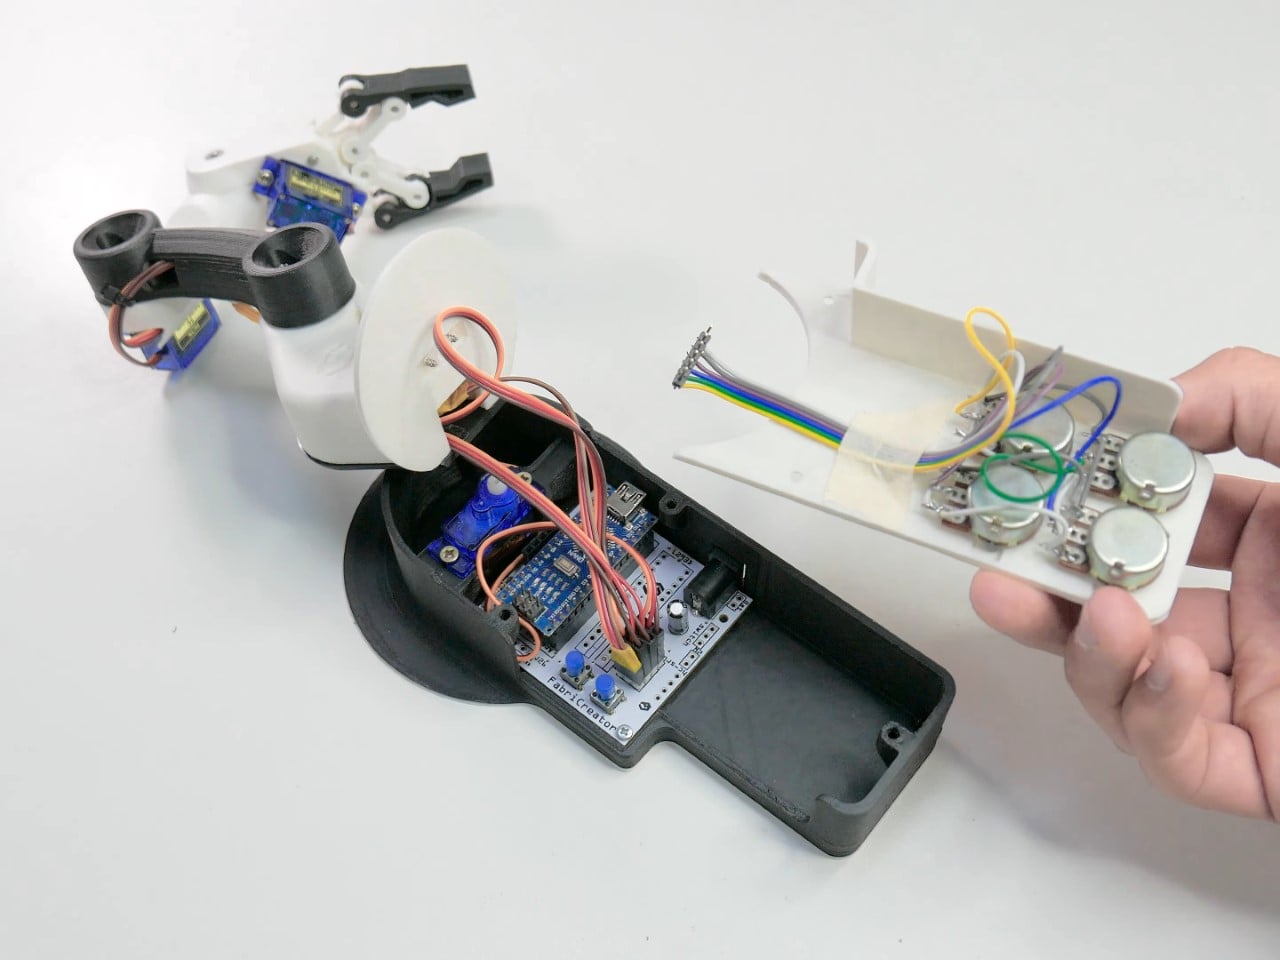
To build this arm, you’ll need several essential components. Beyond the Arduino Nano, four SG90 servo motors serve as the muscles of the arm, providing the torque required for smooth movements. These motors are driven by the signals from potentiometers, which read user inputs and translate them into specific positions for the servos. The project also requires electronic parts like resistors and capacitors for the PCB, ensuring stable and efficient operation. A DC jack connector allows for easy power connection, supporting a 5V 3A adapter or a standard PC power supply, ensuring the arm has a reliable power source. With a breadboard for prototyping and a custom PCB for permanent assembly, you can seamlessly organize all connections, creating a clean and efficient setup.
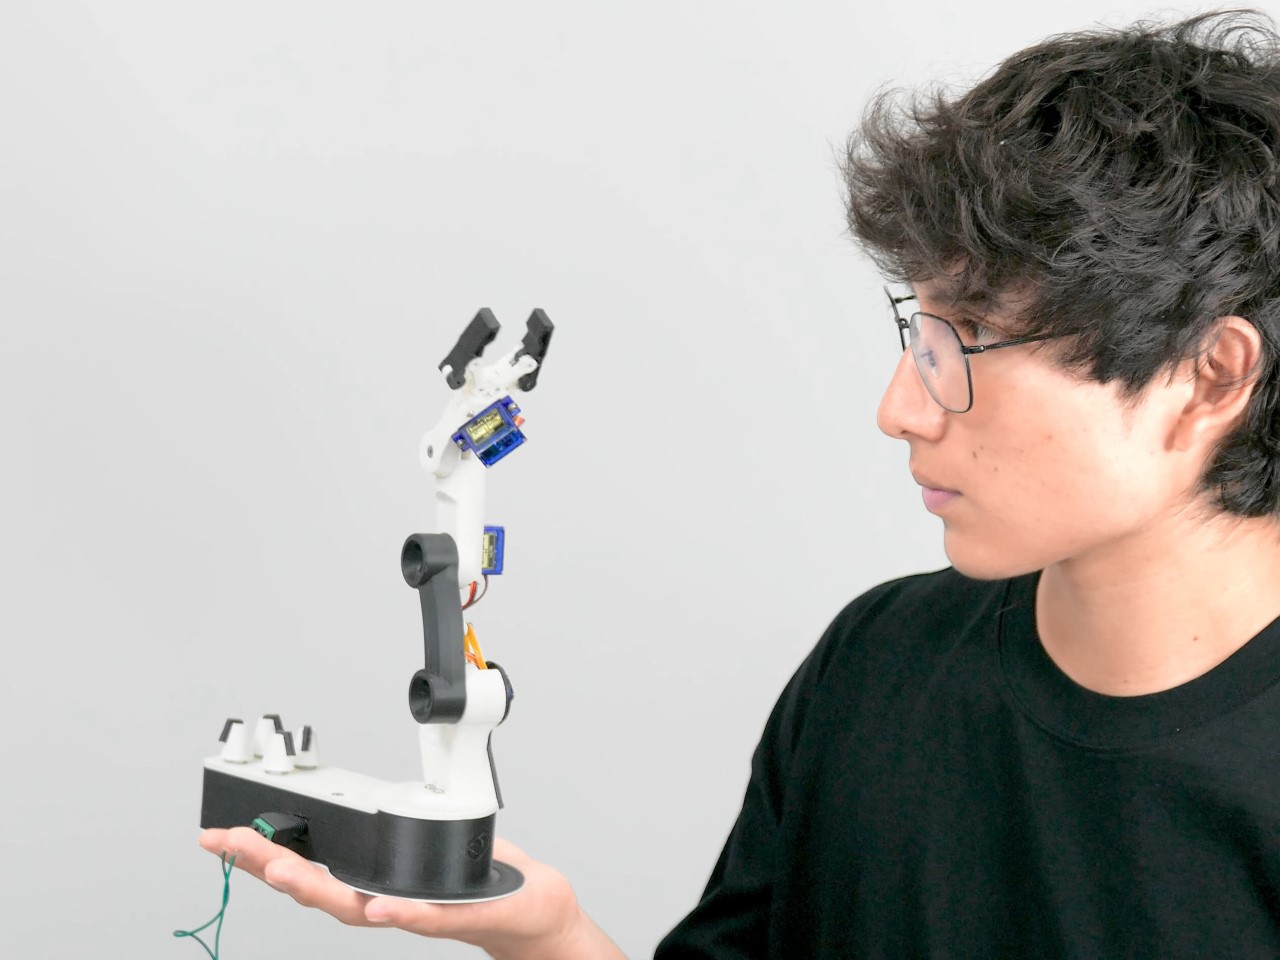
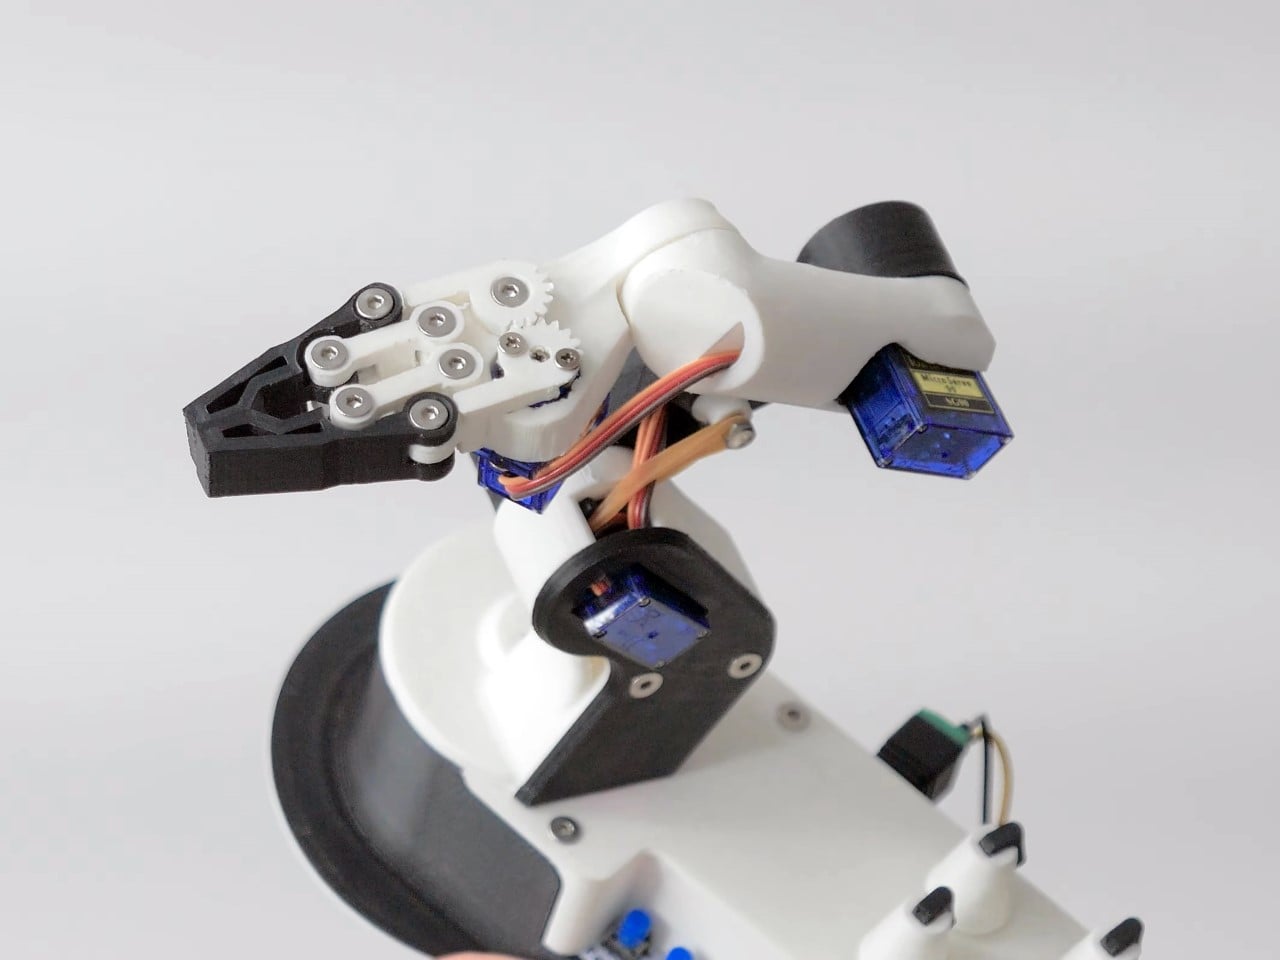
But here’s where the magic truly happens: 3D printing. Using software like Fusion 360, you get to design the structural parts of your robot arm, optimizing the form and function to your specific needs. It’s not just about the technical specs—it’s about bringing your vision to life in a tangible, tactile way. The parts, printed with durable PLA filament, take shape layer by layer, transforming digital models into physical components. The design smartly minimizes the need for supports during printing, making it efficient and less wasteful. The result is a sleek, lightweight arm that looks as good as it functions, embodying the intersection of art and engineering.
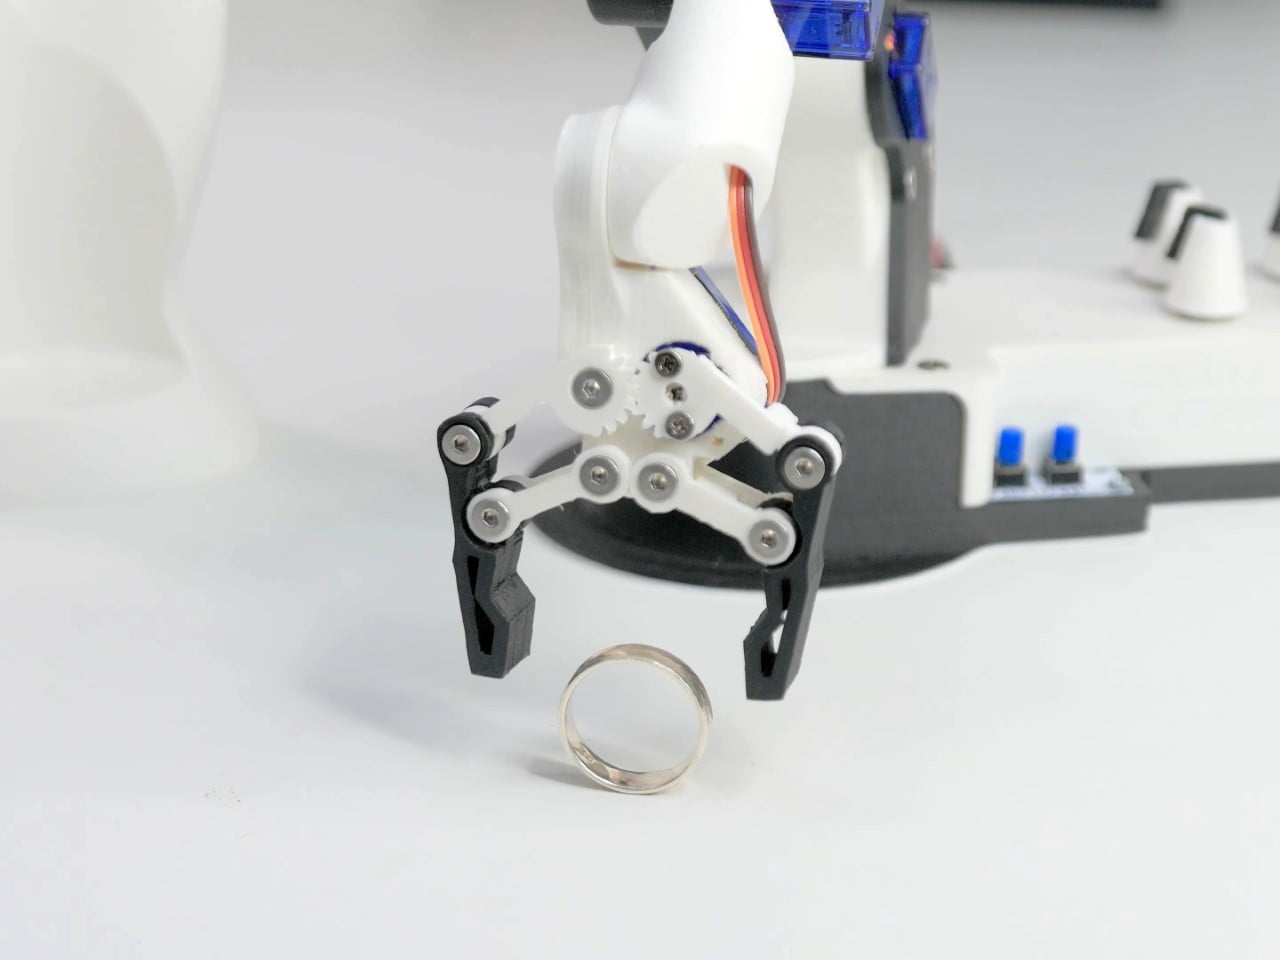
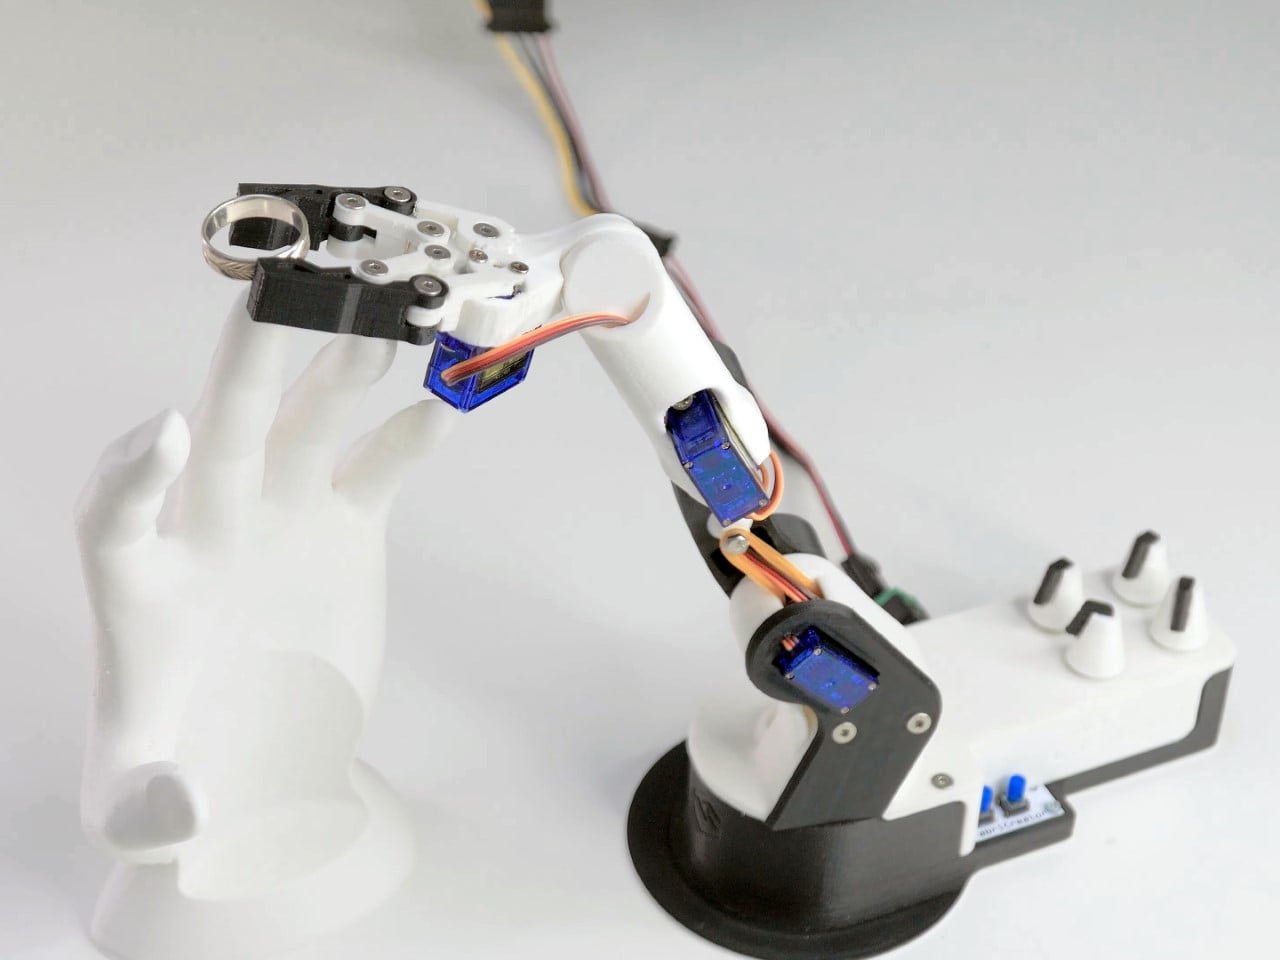
Programming the Arduino is where the project gains its soul. With a bit of code, you can teach the arm to follow your commands, offering both manual and automated control modes. In manual mode, the potentiometers give you direct control over each servo, letting you guide the arm’s movements with finesse. Automated mode, on the other hand, takes it a step further—allowing you to record sequences and replay them, turning the arm into a precise tool for repeating tasks. This duality of control means you can create everything from a delicate touch for small tasks to a mechanical memory that runs on its own.
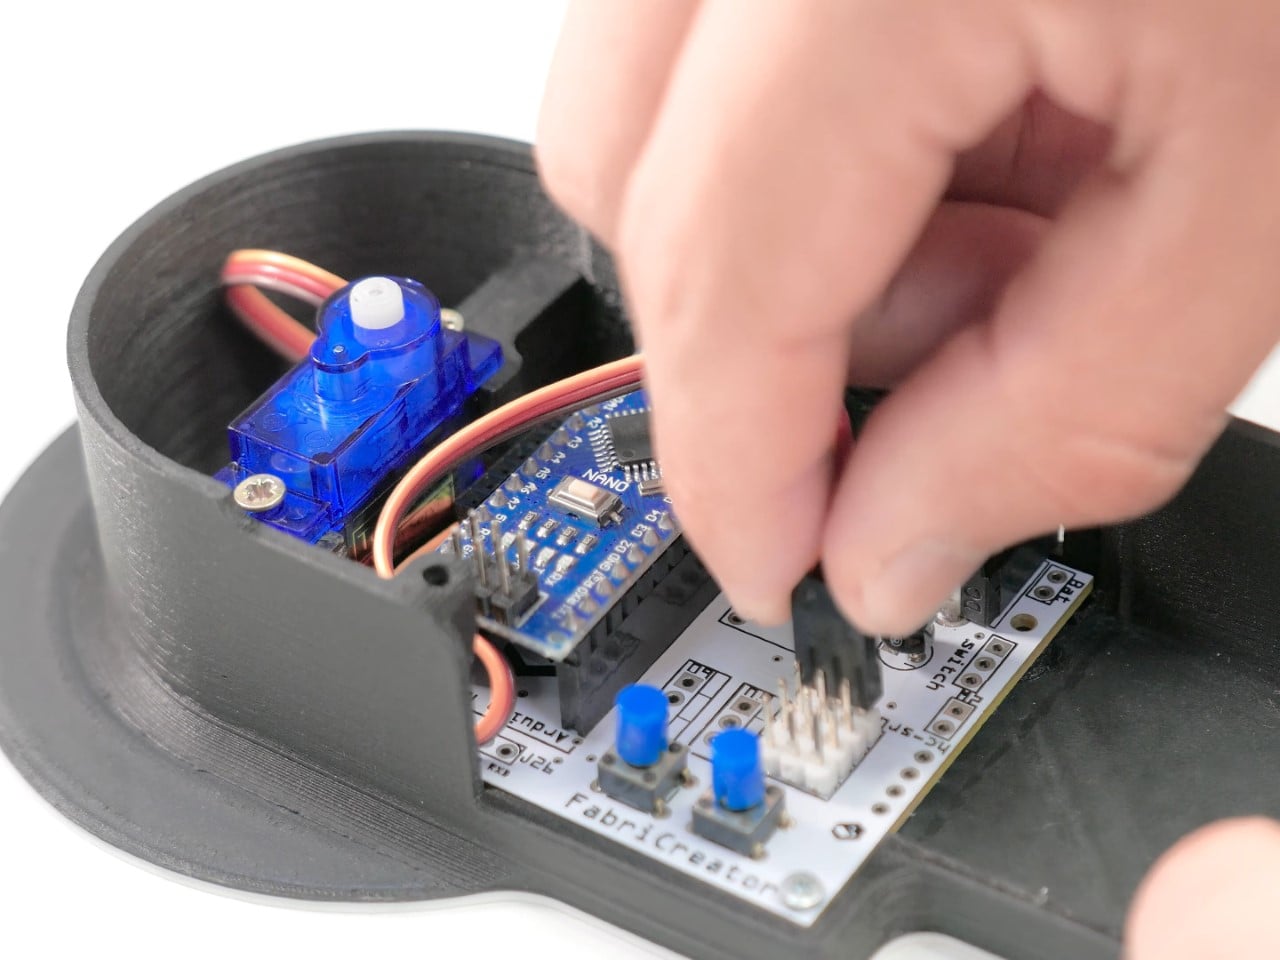
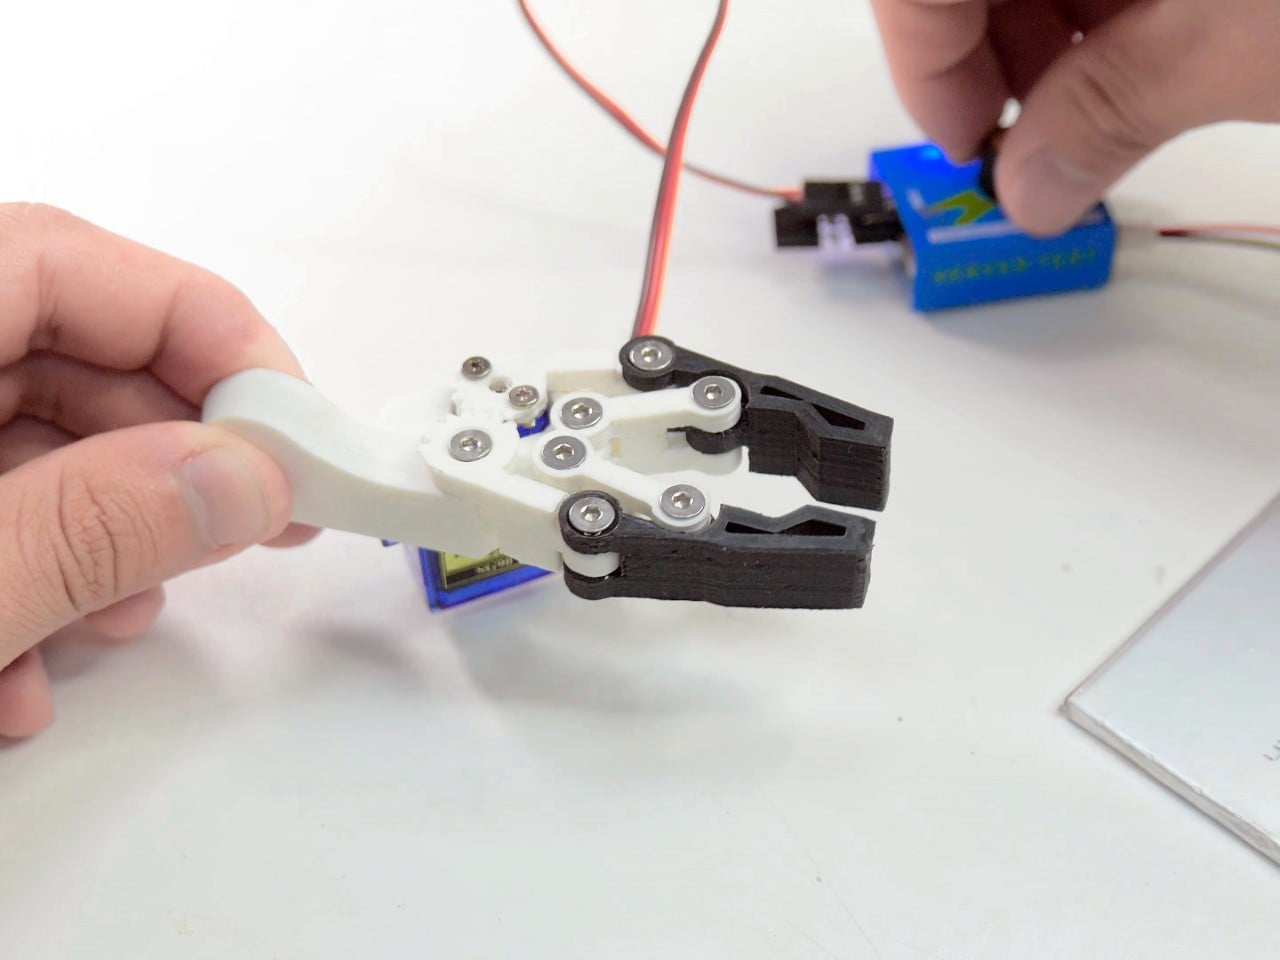
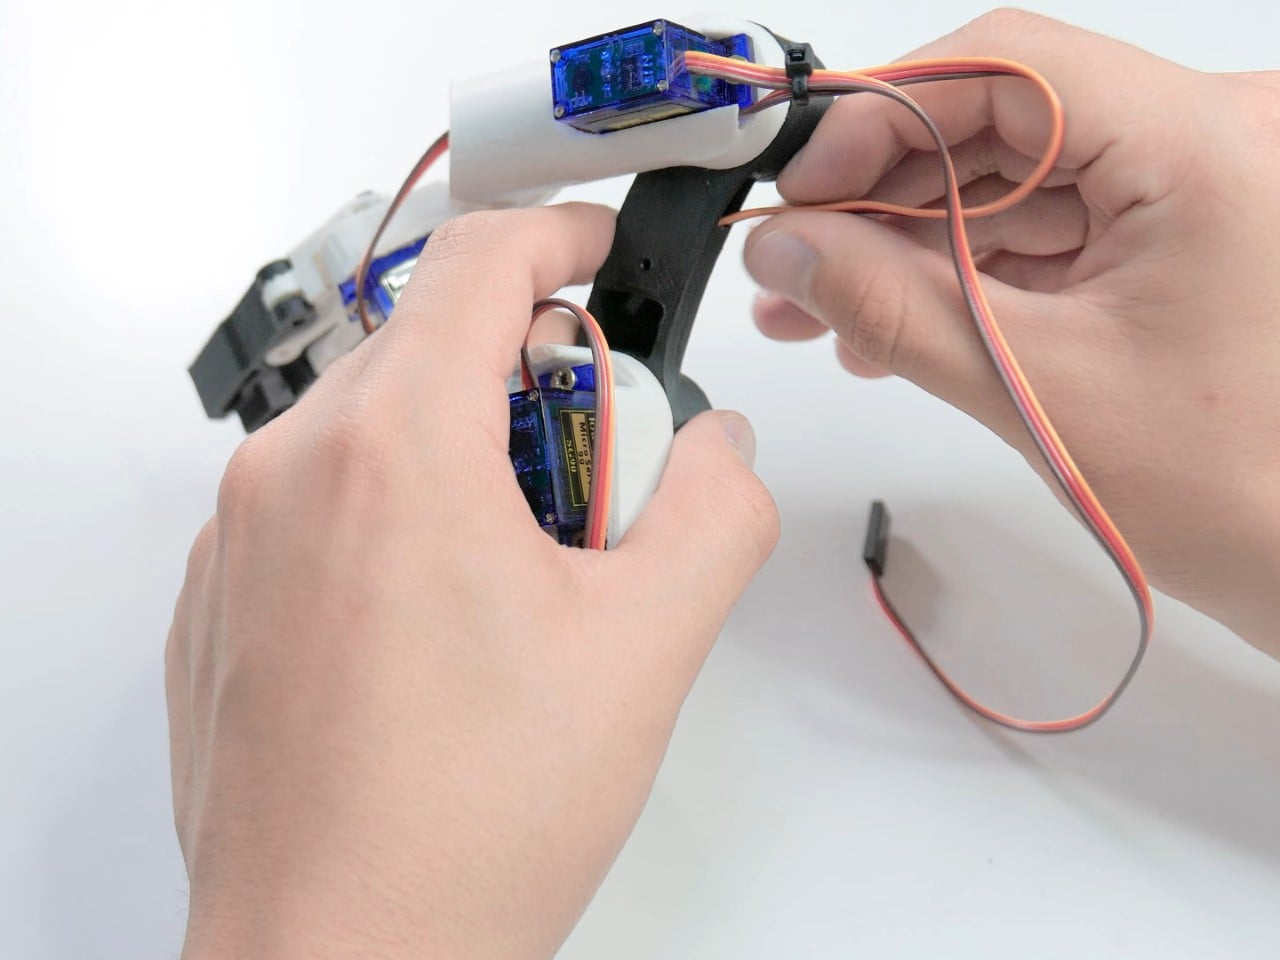
As you bring it all together, the assembly process becomes a meditative practice in precision and patience. Soldering each component onto the PCB, carefully routing wires, and securing the servos in place requires focus, but the reward is a beautifully crafted piece of tech that feels like a personal accomplishment. The attention to detail in organizing cables and ensuring smooth motion paths doesn’t just keep things tidy—it elevates the overall aesthetic and functionality of the arm. It’s a reminder that design is as much about what you don’t see as what you do.
By the time the project is complete, you’ll have a fully functional mini robotic arm capable of manual and automated control. The combination of 3D printing and Arduino brings a level of customization that lets you adapt the design to your needs, making it a perfect entry point into robotics. This DIY project is less about building a one-time gadget and more about being an entry-point into the world of STEM and Design. It demonstrates how accessible and versatile modern technology can be, offering a fulfilling way to explore the world of robotics, whether you’re a seasoned maker or just starting out… and once you’re done you can quite literally pat yourself on the back with your new robot arm!
